第13章:送信サーバーの基本(Admin SDK / HTTP v1)🏗️📤
この章でできるようになること🎯
- 「通知を送るのはサーバーだけ!」を守りつつ、Functionsから安全にPush送信できる✅
- 送信方法の2択(Admin SDK / HTTP v1)がスッと選べる🧠
- 「to(宛先)/ タイトル / 本文 / URL」を型(TypeScript)で一発管理できる🧩
- AIで「短く伝わる通知文」を作る入口も作れる🤖✨(本格運用は後章で育てる)
1) 読む📖:送信は「信頼できる場所」からだけ🧯
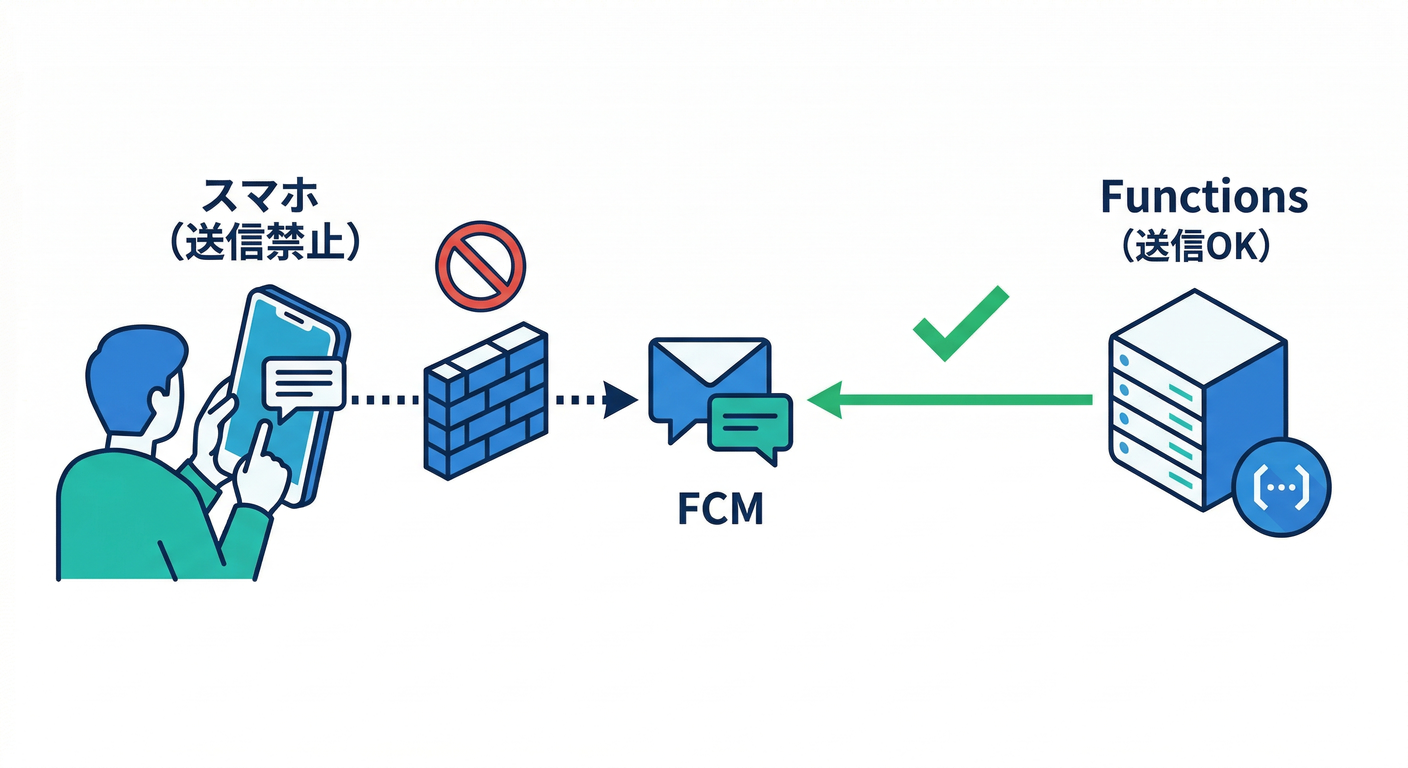
まず大原則:クライアントから送らない🙅♂️
FCMは便利だけど、もしブラウザやアプリ(クライアント)から直接送れる設計にすると、誰でも通知を乱発できる危険が出ます。だから送信は、Cloud Functions などの「信頼できる環境」からやるのが基本です📌 (Firebase)
送信手段は2つ(どっちも “v1 前提”)⚖️
-
① Firebase Admin SDK(おすすめ) 送信の面倒(認証や形式)をライブラリがやってくれる✨ Node/TypeScriptで一番ラク&事故りにくいです。 (Firebase)
-
② FCM HTTP v1 API(プロトコル直叩き) 仕組みを理解したい・他言語(.NET/Python)で送りたい時の土台になる🧱 送信先は
projects/*/messages:sendで、OAuth2(アクセストークン)で叩きます。 (Firebase)
さらに大事:旧レガシーAPIは卒業(v1へ移行が前提)🚪➡️🚀 (Firebase)
メッセージの形:notification / data 🧩
notification:OSが「通知表示」しやすい(見せる通知向き)🔔data:アプリ側で解釈して動く(画面遷移・内部処理向き)📦 基本は 最大 4096 bytes を意識(大きすぎると弾かれます)📏 (Firebase)
FunctionsのNodeランタイムも最新に🧠⚙️
Functions(Firebase)では Node.js 22 / 20 がサポートされ、**Node.js 18 は deprecated(非推奨)**扱いです。 (Firebase)
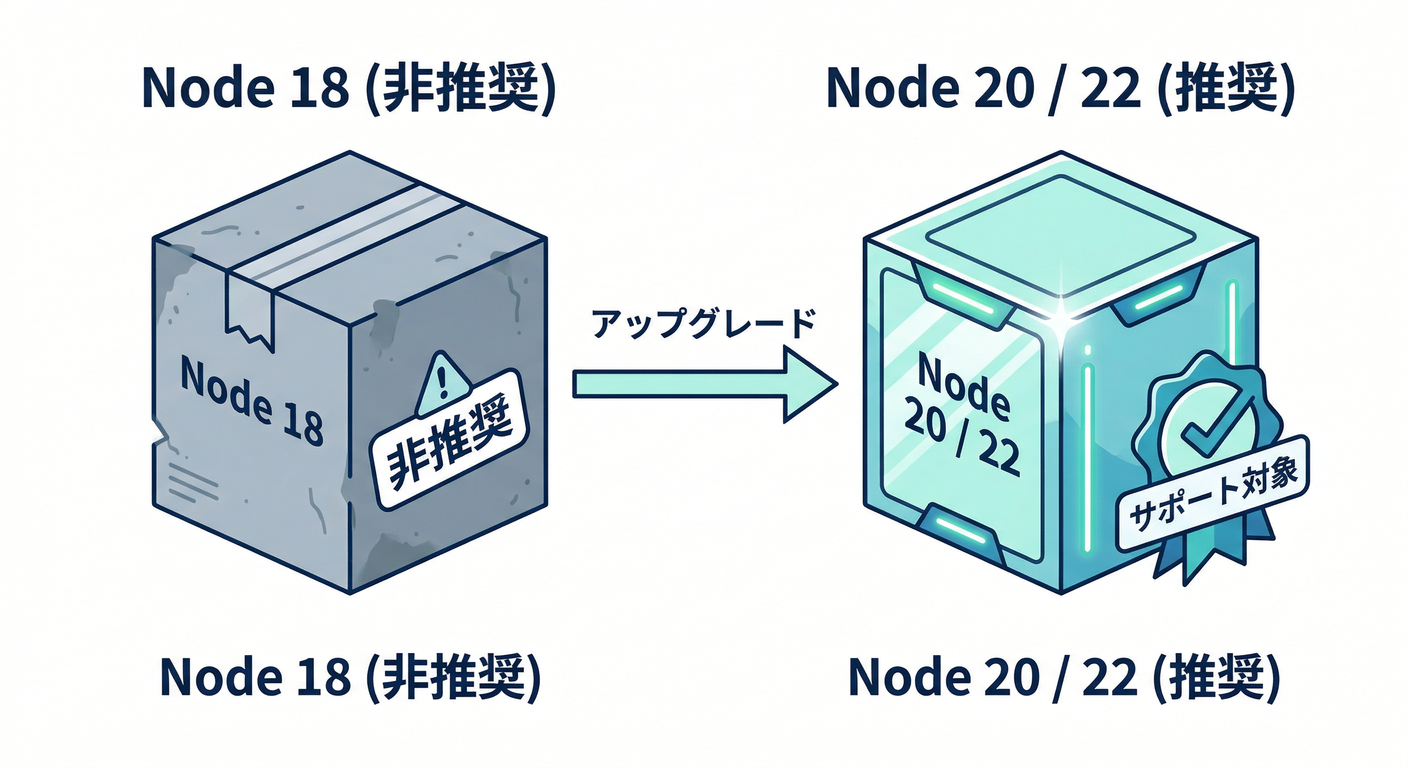
(教材的にも、ここは最新寄せでいきます🚀)
2) 手を動かす🖱️:Functionsで「テスト送信API」を作る🧪📤
ここでは Admin SDK で、最小の「送信ボタン用API」を作ります✅ (後章で Firestoreトリガー送信に育てる⚡)
Step A:Functions側の準備📦
functions/ ディレクトリがある前提で、依存を入れます。
cd functions
npm i firebase-admin firebase-functions
Nodeの指定(例:22)も入れておくと安心です🧷
// functions/package.json(一部)
{
  "engines": { "node": "22" }
}
もし「Cloud Messaging API が無効だよ」系で怒られたら、Google Cloud側で Cloud Messaging API を有効化する導線が公式に案内されています🔧 (Firebase)
Step B:送信入力を“型”にする🧩(これが後で効く)
今回の送信は「最低限これだけ」で十分👇
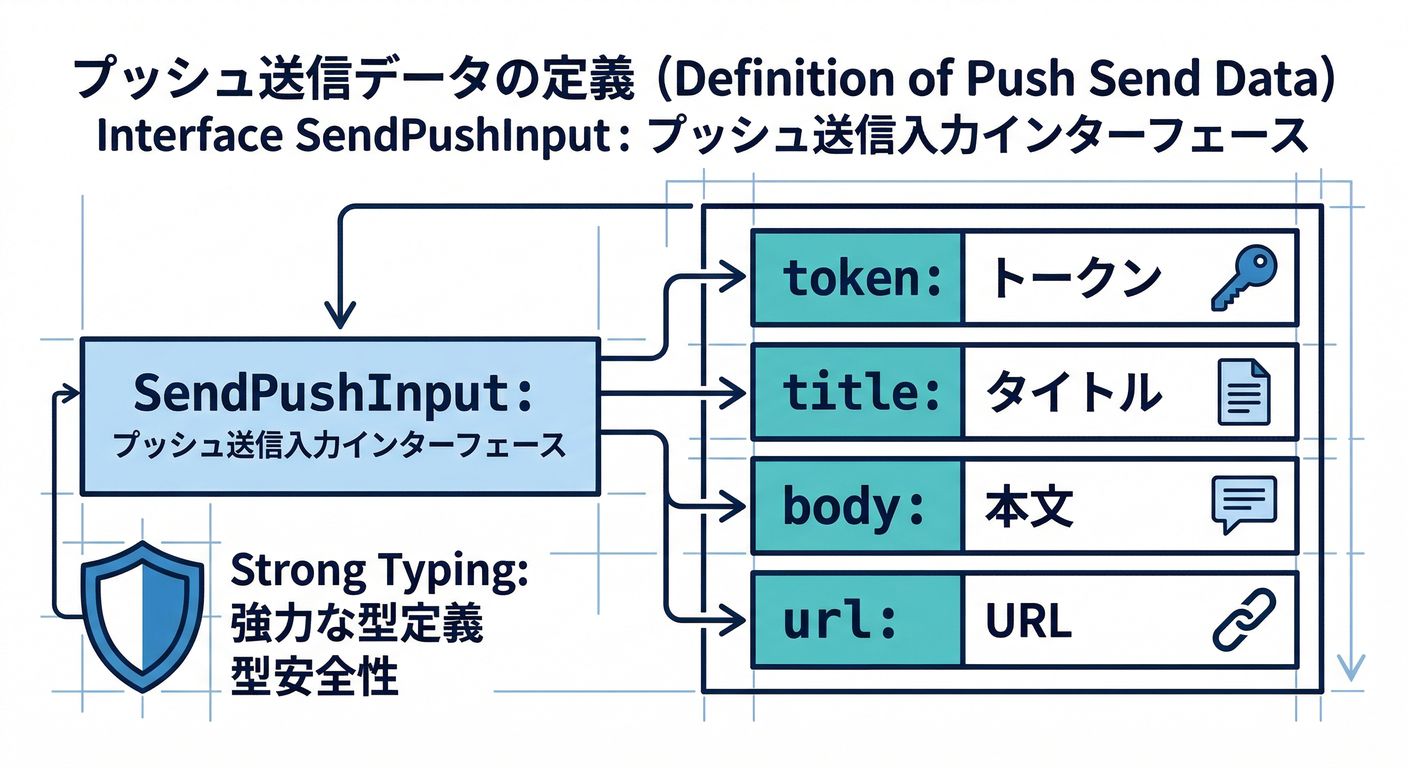
- token(宛先:端末トークン)
- title / body(通知文)
- url(クリック後に飛ばしたいURL)
- data(アプリで使う追加情報)
Step C:Functions実装(onCall)📞✨
// functions/src/index.ts
import { onCall, HttpsError } from "firebase-functions/v2/https";
import { initializeApp } from "firebase-admin/app";
import { getMessaging } from "firebase-admin/messaging";
initializeApp();
type SendPushInput = {
token: string;
title: string;
body: string;
url?: string;
data?: Record<string, string>;
};
// UTF-8のバイト数(4096 bytes制限チェック用)
function bytesUtf8(s: string) {
return Buffer.byteLength(s, "utf8");
}
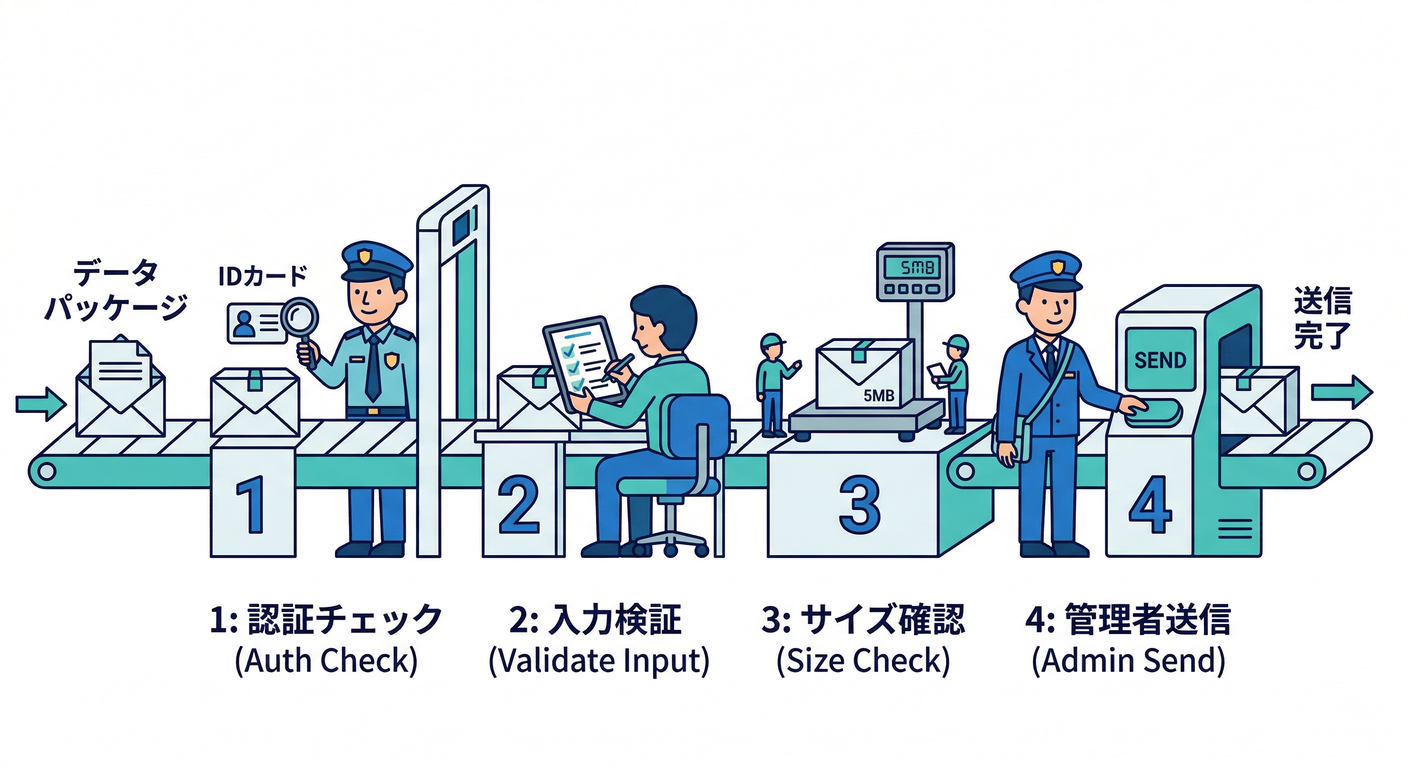
export const sendTestPush = onCall(
{ region: "asia-northeast1" },
async (req) => {
// ✅ ログインしてる人だけ使える(乱発防止の第一歩)
if (!req.auth) {
throw new HttpsError("unauthenticated", "ログインが必要です");
}
const input = (req.data ?? {}) as Partial<SendPushInput>;
if (!input.token) throw new HttpsError("invalid-argument", "tokenが必要です");
if (!input.title) throw new HttpsError("invalid-argument", "titleが必要です");
if (!input.body) throw new HttpsError("invalid-argument", "bodyが必要です");
// ✅ ざっくりサイズガード(notification/dataは最大4096 bytes目安)
if (bytesUtf8(input.title) + bytesUtf8(input.body) > 3500) {
throw new HttpsError("invalid-argument", "通知文が長すぎます(短くしてね)");
}
const message = {
token: input.token,
notification: {
title: input.title,
body: input.body,
},
data: {
url: input.url ?? "",
...(input.data ?? {}),
},
// Webならリンクをここに入れるのが分かりやすい(クリック遷移用)
webpush: input.url
? { fcmOptions: { link: input.url } }
: undefined,
};
const messageId = await getMessaging().send(message);
return { ok: true, messageId };
}
);
Step D:Reactから呼び出す(テストボタン)🎛️⚛️
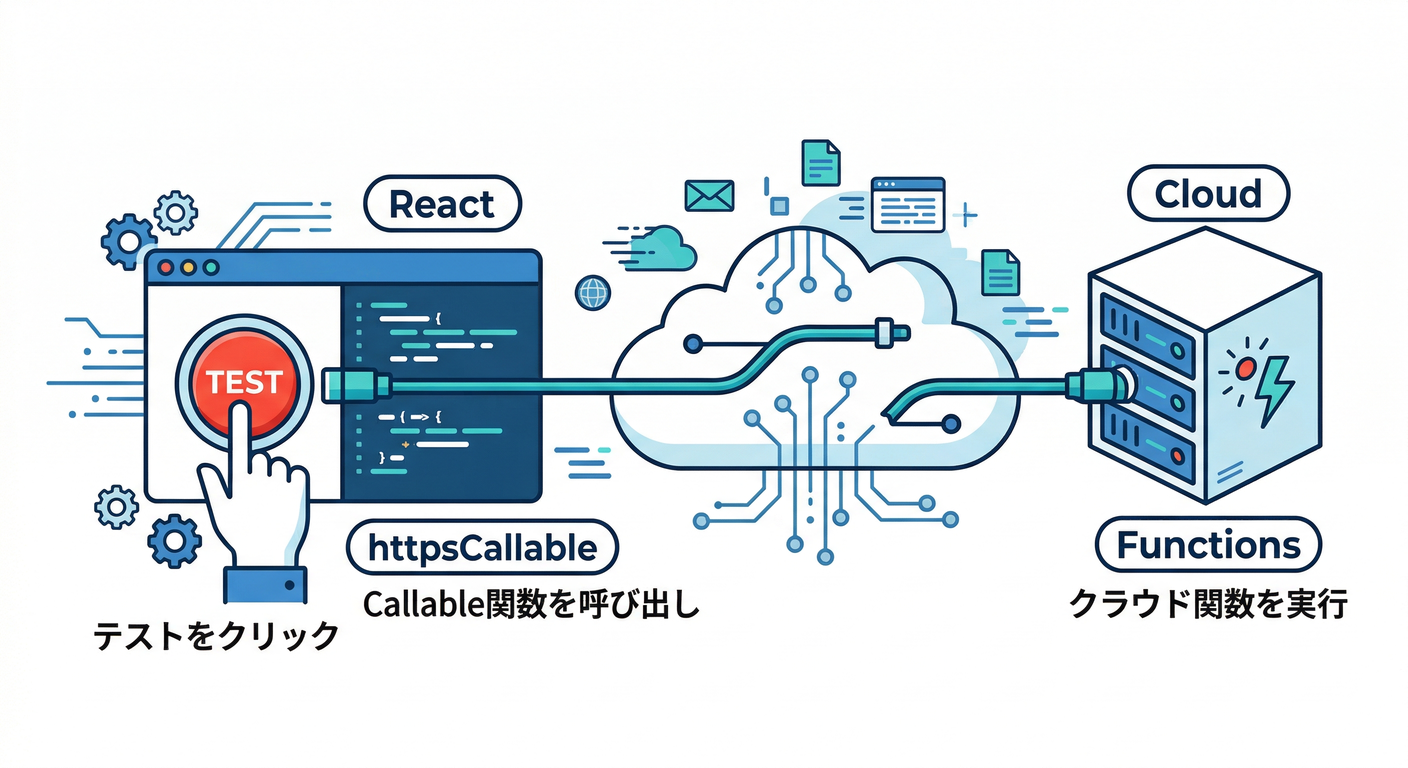
import { getFunctions, httpsCallable } from "firebase/functions";

const functions = getFunctions();
const sendTestPush = httpsCallable(functions, "sendTestPush");

await sendTestPush({
  token,
  title: "テスト通知だよ🔔",
  body: "届いたら勝ち!✨",
  url: "https://example.com/comments/abc"
});
これで「ボタン押したら通知」まで繋がります🎉 (届かない時は、後半の“詰まりポイント”へ👇)
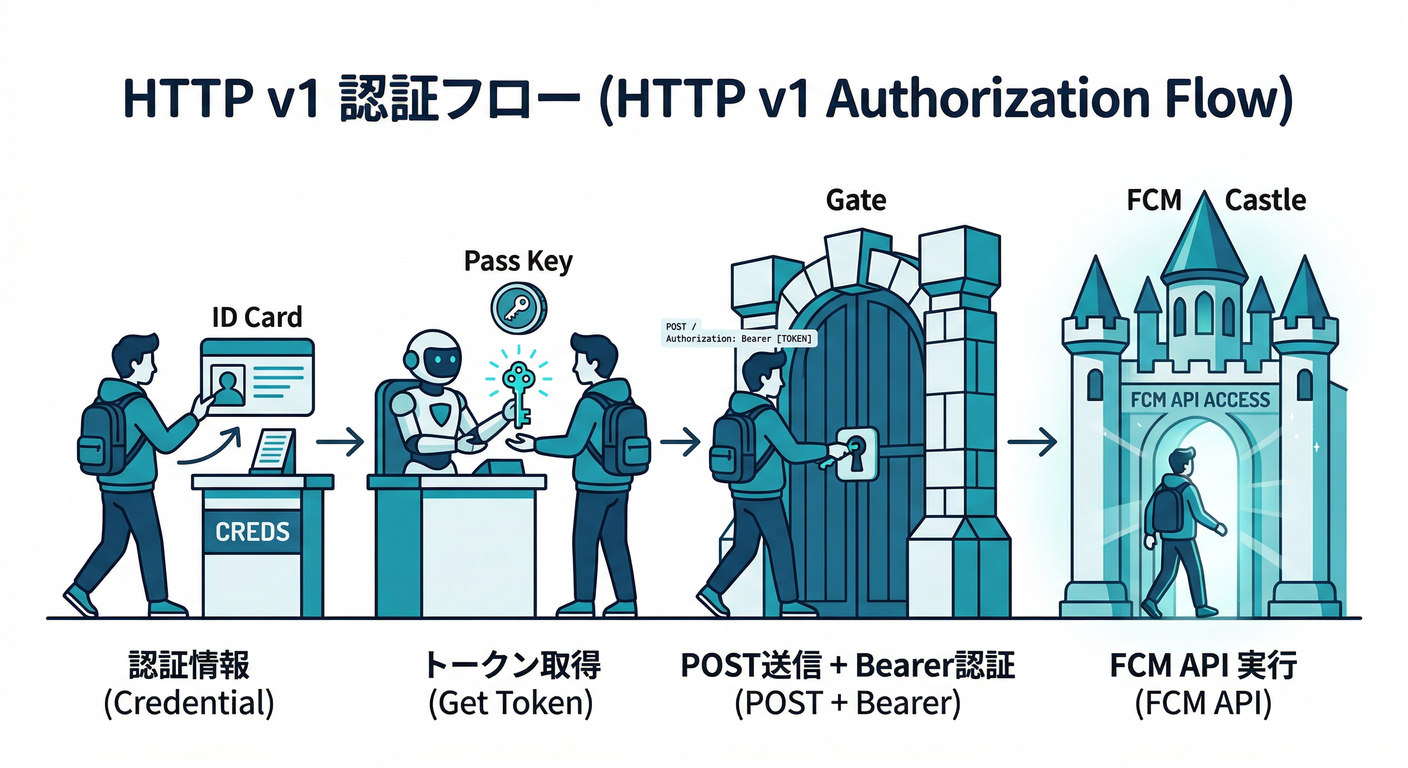
3) もう1本:HTTP v1 を “理解用” に触ってみる🧠🔧(任意)
HTTP v1はこのエンドポイントにPOSTします👇 (Firebase)
https://fcm.googleapis.com/v1/projects/PROJECT_ID/messages:send
Functionsの中でやるなら、アクセストークン取得 → fetch の流れになります。 (仕組みが見えるので、.NET / Python に移植する時の道しるべにもなる🗺️)
import { onCall, HttpsError } from "firebase-functions/v2/https";
import { GoogleAuth } from "google-auth-library";

export const sendTestPushHttpV1 = onCall(async (req) => {
  if (!req.auth) throw new HttpsError("unauthenticated", "ログインが必要です");
  const { token, title, body } = req.data as { token: string; title: string; body: string };

  const auth = new GoogleAuth({
    scopes: ["https://www.googleapis.com/auth/firebase.messaging"],
  });
  const client = await auth.getClient();
  const at = await client.getAccessToken();
  const accessToken = typeof at === "string" ? at : at?.token;

  if (!accessToken) throw new HttpsError("internal", "アクセストークン取得に失敗");

  const projectId = process.env.GCLOUD_PROJECT;
  const url = `https://fcm.googleapis.com/v1/projects/${projectId}/messages:send`;

  const res = await fetch(url, {
    method: "POST",
    headers: {
      Authorization: `Bearer ${accessToken}`,
      "Content-Type": "application/json",
    },
    body: JSON.stringify({
      message: {
        token,
        notification: { title, body },
      },
    }),
  });

  if (!res.ok) {
    const text = await res.text();
    throw new HttpsError("internal", `送信失敗: ${res.status} ${text}`);
  }

  return { ok: true };
});
こっちは「HTTP v1 の仕様ど真ん中」を叩いてる感覚。公式の v1 送信仕様はここが一次情報です📚 (Firebase)
4) ミニ課題🎯:送信入力を “1つの型” に統一する📦✨
やることはシンプル👇
SendPushInputを拡張して to(宛先)を token / topic 両対応にするnotificationとdataを「用途で分ける」メモをコードコメントに残す📝- 4096 bytes を意識して 短くするガードを入れる📏 (Firebase)
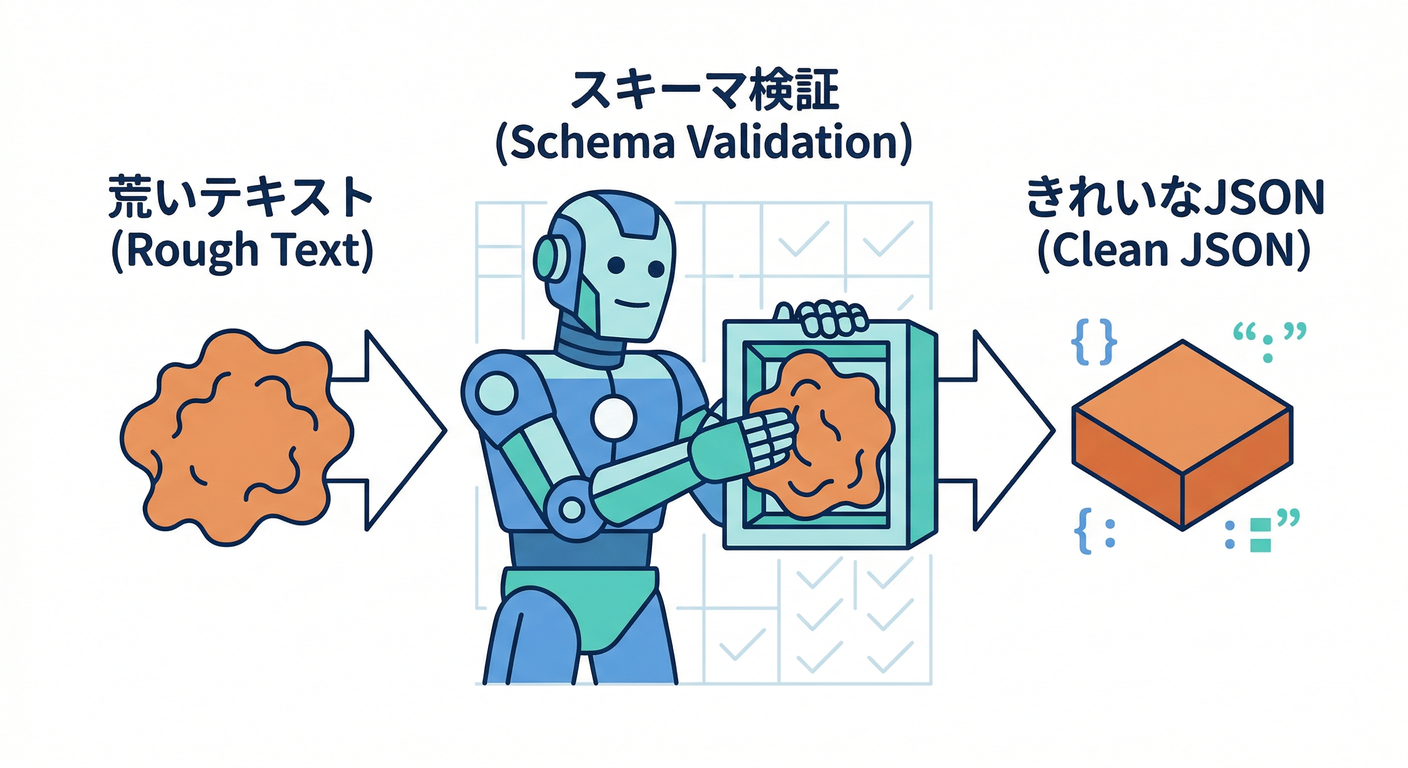
さらにAIで遊ぶ(ここが楽しい🤖✨)
React側で「通知文をAIで短くする」ボタンを作って、title/body を生成してからFunctionsへ送る!
Firebase AI Logic の structured output(JSON)を使うと、返してほしい形(title/body)を固定できます🧱 (Firebase)
import { getAI, getGenerativeModel, GoogleAIBackend, Schema } from "firebase/ai";

// title/body を JSONで返させるスキーマ
const schema = Schema.object({
  properties: {
    title: Schema.string(),
    body: Schema.string(),
  },
});

const ai = getAI(firebaseApp, { backend: new GoogleAIBackend() });

const model = getGenerativeModel(ai, {
  model: "gemini-2.5-flash", // 例(モデルは入れ替わるので最新推奨を確認)
  generationConfig: {
    responseMimeType: "application/json",
    responseSchema: schema,
  },
});

const prompt = `
次のコメントを、通知向けに短くして。
- タイトルは20文字目安
- 本文は40文字目安
- 個人情報っぽいものは省く

コメント:
${commentText}
`;

const result = await model.generateContent(prompt);
const draft = JSON.parse(result.response.text());
⚠️モデルは入れ替わりがあるので、**retire(提供終了予定)**の案内も見てね📅 例:一部モデルが 2026-03-31 に retire 予定という注意が公式に出ています。 (Firebase)
5) チェック✅:理解できたか3分テスト🧠
- 「送信はサーバーだけ」の理由を一言で言える?🧯
- Admin SDK と HTTP v1 の違いを説明できる?⚖️ (Firebase)
- notification と data の役割分担、言える?🔔📦 (Firebase)
- 4096 bytes 制限を意識して、短くする工夫を入れた?📏 (Firebase)
- Nodeランタイムを最新寄せ(22/20)にした?⚙️ (Firebase)
- Functionsは “ログイン必須” になってる?(乱発防止)🔐
6) よくある詰まりポイント🧩🧯
- 届かない:権限がOFF / Service Worker未登録 / トークンが古い、が多い😇
- 送信エラー:payloadが大きい・形式ミス・API無効化など📛 (Firebase)
- “レガシーで送れない?”:今は v1 を前提に組む流れです🚀 (Firebase)
次の第14章では、この「送れる状態」を使って、Firestoreトリガー(コメント作成イベント)→自動通知に進化させます⚡📝➡️🔔